How to check on appointment sign-ups in Quercus
If you have created an Appointment Group in Quercus (such as for office hours) and a student has signed up for a time slot, you will receive an e-mail message if you have notifications enabled.
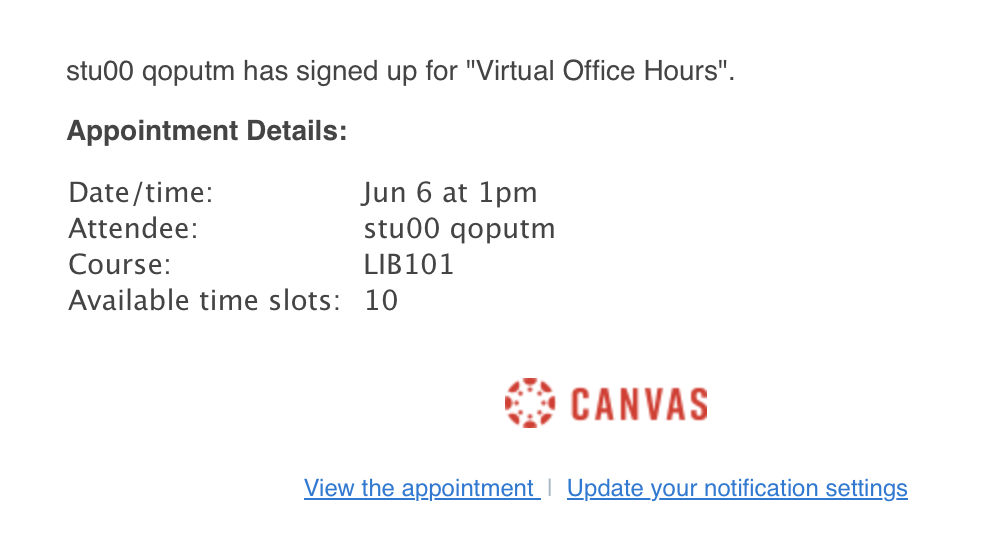
To ensure you receive the e-mail notification, check to see that the notification setting for Student Appointment Signups is enabled (Account > Notifications)

You may also view any appointment sign ups in the Quercus calendar:
-
Select the Calendar tool

2. Ensure that the course calendar is active
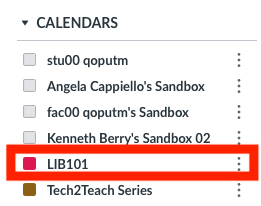
Active courses are denoted by a coloured box next to the course name. If the box is not coloured, click on the box.
-
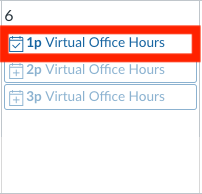
Click on the Date/Time that you wish to view. Time slots with a reservation appear darker.
-
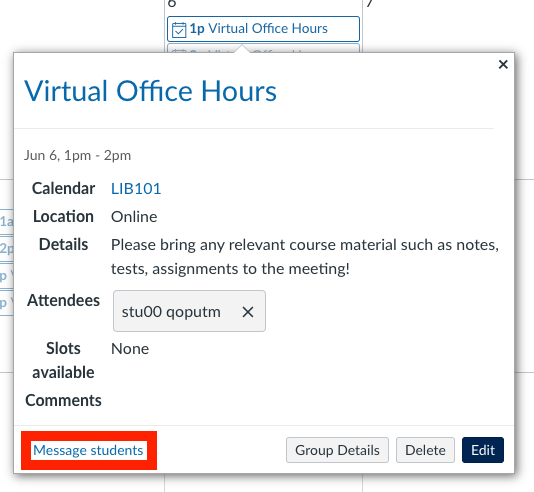
This will open a box with the details of the appointment. To send a message to the appointment holder, click on Message Students.
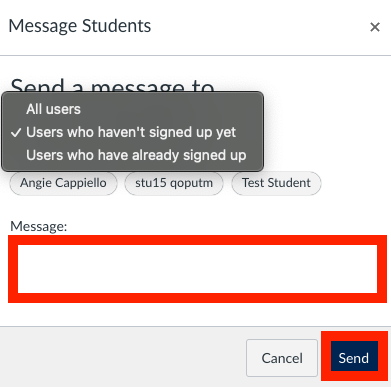
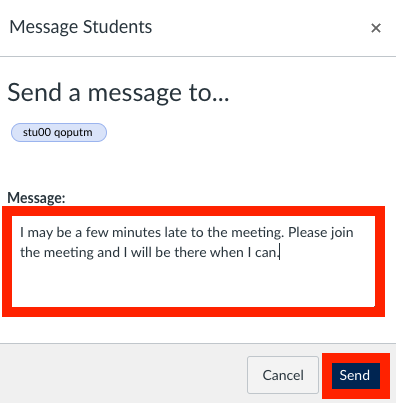
Add in your message text and click Send.
-
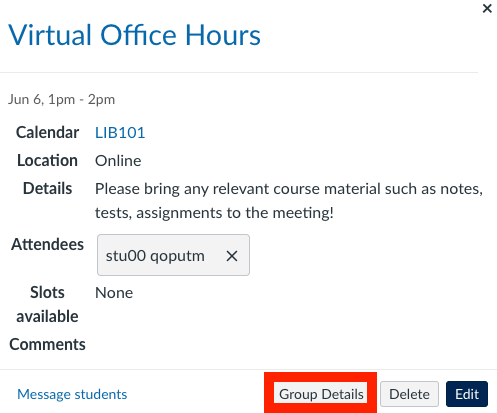
To view the Appointment Group Details, click Group Details
-
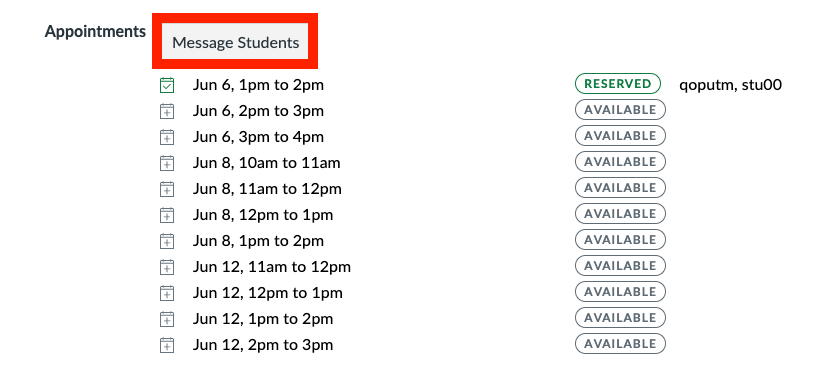
To view the list of appointment holders, scroll to the bottom of the box. A list of appointments will show, with the available and reserved time slots.
-
Click on the Message Students button to contact students. You have the option to send a message to all students, all students who haven’t signed up yet, or all students who have already signed up. Enter your message in the text box and click send.
